Monday, April 30, 2012

Wannabe Frosty

We agreed that on this blog we would try to stick to non-dessert foods. But let's be honest - a LOT of what I make and eat is dessert. :) And my sweet tooth is definitely genetic, so I'm sure everyone else will enjoy this "recipe."

I know you've all heard of one-ingredient ice cream. If you haven't, then welcome to the world; click on the link, and make it. It's magical. We often (and I mean OFTEN) make banana ice cream and top it with strawberries, coconut flakes, slivered almonds, and chocolate sauce and call it banana splits. Because it tastes JUST like it, for a fraction of the calories.

But the other day, my husband, who is the blender king around here, decided to try something new. He made banana ice cream with milk and then threw in some Nutella with it. (I know, Nutella is NOT vegan. But it is sinfully delicious.) The result was surprisingly like a Wendy's frosty, albeit a little more banana-y. It was awesome. This would probably also work with chocolate syrup - anything to add some chocolate flavor in with the banana. And the milk just makes it more melty and soft-serve-ish. Yum. A perfect spring/summer healthy (ish)treat!

And there are no measurements because...you don't need any. That's the beauty of it. I would average at least a banana per serving you want, and just add in until it looks right!

Wannabe Frosty


Frozen bananas
Almond milk, start with 1/4 c. and add to your desired consistency (obviously you could use whatever kind of milk you want!)
Nutella or chocolate syrup

Combine all ingredients in food processor or blender and blend. Serve.

Friday, April 27, 2012

Magically Delicious Potato Soup

Since I missed my day to post due to being out of town, I'm making up for it today with a little extra Friday post.

Picture from Mel's Kitchen Cafe, one of my favorite food blogs

A couple years ago, our whole family together - it was probably Christmas. I was in charge of cooking one of the dinners, and I made a recipe I loved from a cookbook called Essential Mormon Celebrations: Secret Combinations for Holidays, Homecomings, Potluck Dinners, and More. It was called Creamy Potato Soup, and the description under the title said, "This savory soup warms the winter night."

Little did the cookbook authors know how much it warmed the winter night. In fact, it warmed everyone's winter LIFE. Everyone LOVED this soup. That was probably 4 years ago, but I still get phone calls every couple months from one sister or another asking for the recipe. It was so delicious, nobody has ever forgotten it. My only regret is that it's not vegan so I can't eat it anymore. But don't worry, I am planning a veganization of Creamy Potato Soup and then it will be the soup that takes over the world. Or something.

I know it's summer and most people are out of soup season, but when my phone rang at 6:15 this morning with another request for the recipe, I knew today would be the day I would share it with the world. Enjoy!

Magically Delicious Potato Soup

adapted from Essential Mormon Celebrations' Creamy Potato Soup

12 medium potatoes (I use russet, but whatever kind is fine)
1 c. chopped onion
1/4 c. butter or margarine
2 c. cream (THAT'S why everyone loves this soup!!)
3 c. milk
1 Tbsp. salt
grated cheddar cheese
sliced green onions (lots!)
Salt and pepper to taste

Directions:
Peel and quarter potatoes and place in large pot. Fill pot with cold water just to cover potatoes. Put on lid; bring to boil. Reduce heat to medium and cook for 30 minutes or until tender.

Place chopped onions and butter/margarine in microwave-safe glass bowl and heat on high power for 2 minutes. (This is a lazy-man's saute - if you would rather, just do the normal thing and saute the chopped onions in melted butter on the stovetop until soft and transluscent. But the microwave method, surprisingly, does work just fine.) Set aside.

Remove potatoes from heat and drain. Add cream; stir together. Mash potatoes until mixture is smooth. I, like Linds, have been known to pull out my hand mixer to whip those babies lump-free, and it's a good idea with this soup.

Stir in milk, salt, and onion-butter mixture. Return pot to stove and simmer over low heat for about 10 minutes, stirring occasionally. Watch carefully to avoid scorching on the bottom. Turn down heat if necessary. Salt and pepper to taste. (You'll definitely need at least a little salt - start with about a tsp. I do a few cracks of fresh-ground pepper.)

Pass cheese and green onions for topping individual servings. *

*We also served crispy crumbled bacon pieces on the soup, but I can't bring myself to actually put bacon in the recipe since am wholeheartedly anti-bacon. If you must, top individual bowls with bacon, but feel very very guilty about it.

Thursday, April 26, 2012

Chili's {copycat} Salsa

My husband and I both LOVE chips and salsa. But that doesn't even begin to cover it. We have found that our marriage is happier when we have separate salsa bowls so no one can claim that the other is eating too much, and we buy more bags of tortilla chips per week than I care to admit. So when I say this is our favorite salsa, that really means something!! This is a recipe I found on Six Sisters' Stuff (ironic), but it was a little too spicy for me, as I'm nursing and spicy stuff makes my baby spit up. Plus, the tomato was a little too strong. So here is my less tomato-y (that's totally a word), milder version. It reminds me of Chili's restaurant, which I think is pretty yummy! And there's no chopping or bottling or anything hard or time-consuming. Just pour, blend, and eat! 

Chili's Copycat Salsa

Ingredients:

1 (28 oz.) can tomatoes (whole or diced work), drained well
5-6 jalapeno slices 
1/2 tsp. cumin
1/2-1 tsp. salt
1 tsp. garlic salt
1/2 tsp. sugar 
2 tsp. lime juice
1/4 cup minced onions (to be honest, I just shake some in there. I don't measure them)

*A note about the jalapenos: The first few times I made this, I bought new cans of jalapenos and ended up throwing some away when I didn't make another batch soon enough. But then I came across these babies.

They're much better because I can use less and not worry about storing them in another container. One less dirty dish? I'll take it. It's also easier to increase the spice by just a little bit instead of a whole jalapeno.

Directions:

A peek down my blender before mixing.
Combine all ingredients into blender. Blend until smooth. What's great about this is that it's so easy and you can add more/use less of anything to fit your preference! I would also suggest that you let the salsa sit in the fridge for a couple of hours after mixing. The flavors will blend, and who likes warm salsa, anyway?


I am going to start doubling this... we seriously eat one batch in a few days!! But that's okay, because it's cheaper than bottled salsa and more tasty, if I may say so. Enjoy!

Wednesday, April 25, 2012

Homemade Soft Pretzels


Sundays are "treat days" at our house. We love to make dessert on Sunday. This past week, my 5 year old had seen a picture of homemade "CTR" (stands for Choose The Right) pretzels in The Friend magazine and had been bugging me for days on end to make them. So we made some soft pretzels for the first time and they turned out delicious!  I took the recipe from the Food Network so I can't take any credit for it, but we sure enjoyed them. Note: these are not nearly as good the next day. So either invite people over or eat a lot, because they're best eaten fresh. It makes 8 pretzels.

Ingredients

  • 1 1/2 cups warm (110 to 115 degrees F) water
  • 1 tablespoon sugar
  • 2 teaspoons kosher salt
  • 1 package active dry yeast
  • 22 ounces all-purpose flour, approximately 4 1/2 cups
  • 2 ounces unsalted butter, melted
  • Vegetable oil, for pan
  • 10 cups water
  • 2/3 cup baking soda
  • 1 large egg yolk beaten with 1 tablespoon water
  • Pretzel salt (kosher salt again)

Directions

Combine the water, sugar and kosher salt in the bowl of a stand mixer and sprinkle the yeast on top. Allow to sit for 5 minutes or until the mixture begins to foam. Add the flour and butter and, using the dough hook attachment, mix on low speed until well combined. Change to medium speed and knead until the dough is smooth and pulls away from the side of the bowl, approximately 4 to 5 minutes. Remove the dough from the bowl, clean the bowl and then oil it well with vegetable oil. Return the dough to the bowl, cover with plastic wrap and sit in a warm place for approximately 50 to 55 minutes or until the dough has doubled in size.
Preheat the oven to 450 degrees F. Line 2 half-sheet pans with parchment paper and lightly brush with the vegetable oil. Set aside.
Bring the 10 cups of water and the baking soda to a rolling boil in an 8-quart saucepan or roasting pan.
In the meantime, turn the dough out onto a slightly oiled work surface and divide into 8 equal pieces. Roll out each piece of dough into a 24-inch rope. Make a U-shape with the rope, holding the ends of the rope, cross them over each other and press onto the bottom of the U in order to form the shape of a pretzel. Place onto the parchment-lined half sheet pan.
Place the pretzels into the boiling water, 1 by 1, for 30 seconds. Remove them from the water using a large flat spatula. Return to the half sheet pan, brush the top of each pretzel with the beaten egg yolk and water mixture and sprinkle with the pretzel salt. Bake until dark golden brown in color, approximately 12 to 14 minutes. Transfer to a cooling rack for at least 5 minutes before serving.

Tuesday, April 24, 2012

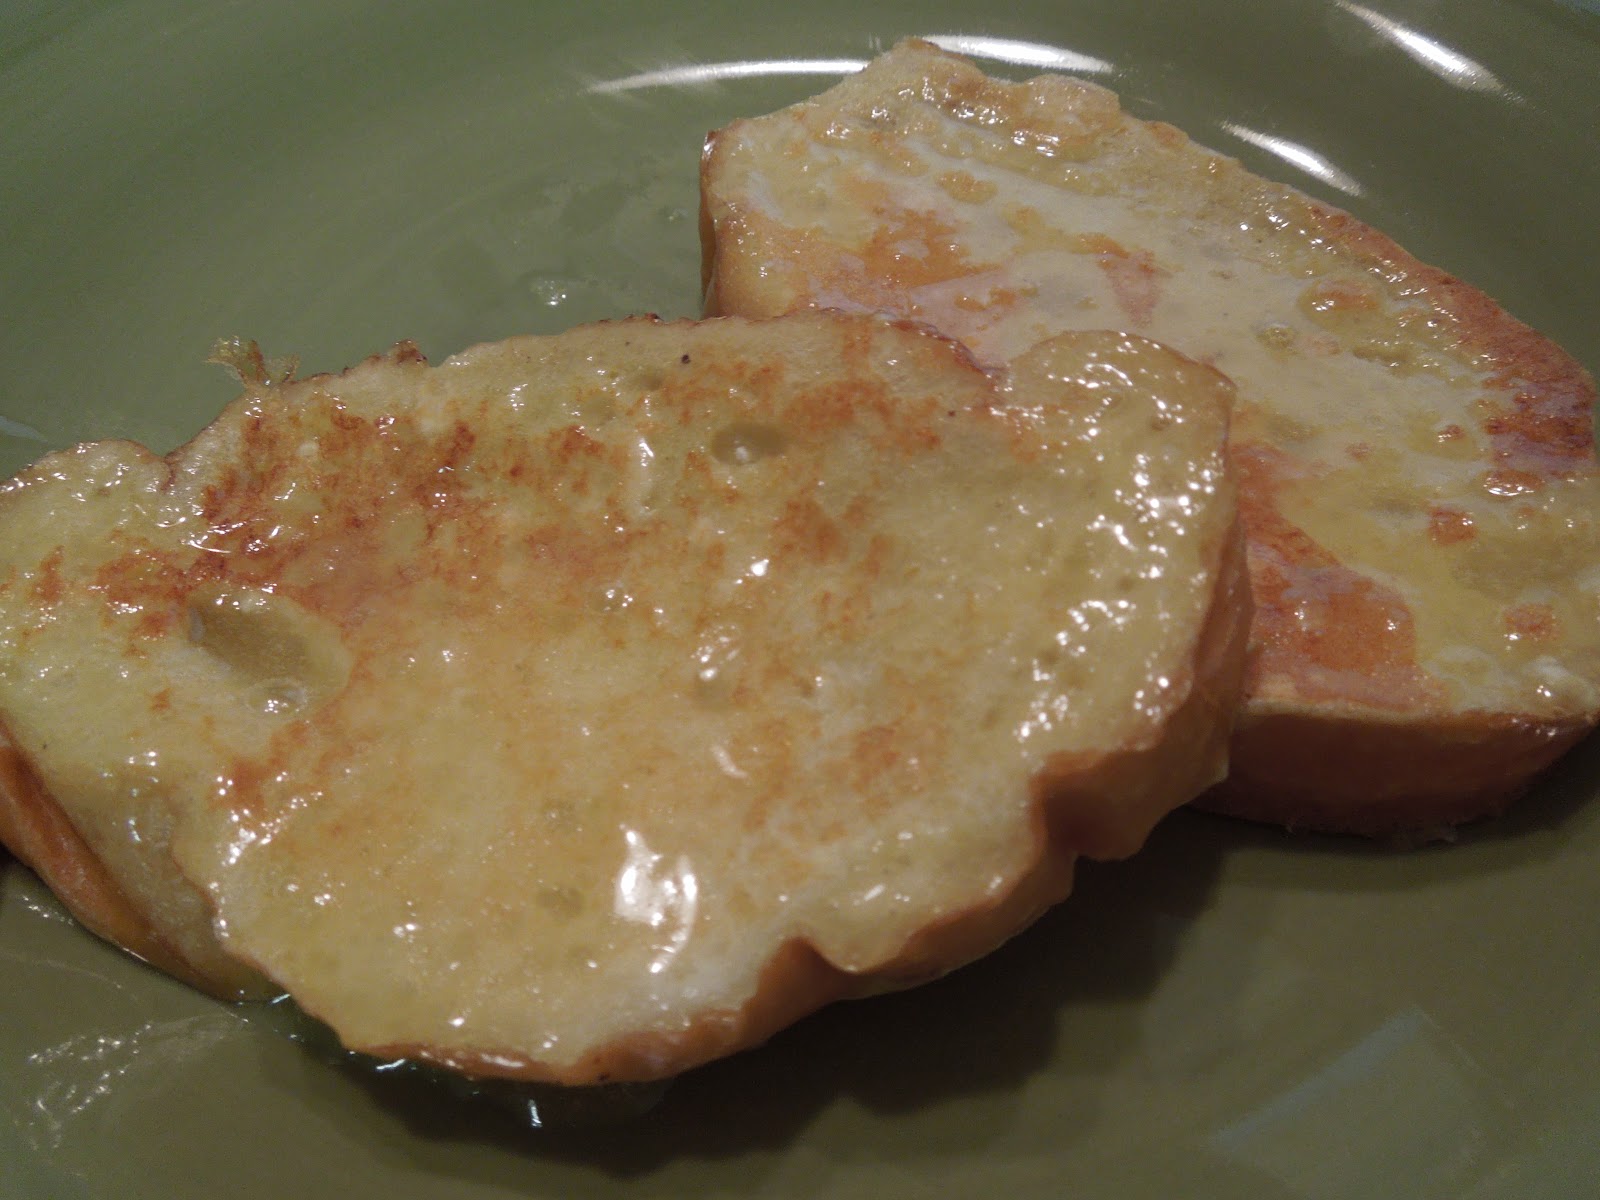
French Toast at a new level

I'm serious. This french toast is to die for. When we went to Steph's house for her son's baby blessing almost two years ago she served this for breakfast. I decided we should make it a blessing breakfast tradition so we had it this past Sunday morning before Eliza's blessing. We had some family in town and everyone LOVED it. I heard "mmm"s and "WOW"s and "can I have this recipe?" and there was even a "I can barely come up for air" comment (Cami!! :)). Yes we like food in our family! Use store bought french bread for best results. This recipe ironically comes from another great sisters cooking blog found here. (that was my first hyperlink ever. I'm pretty proud of myself for figuring it out!)

IHOP French Toast

2 eggs
½ c. milk
1/8 tsp salt
1 tsp vanilla
3 T. flour


Beat eggs then add the other ingredients. Use hand mixer or whisk. It'll be a little lumpy.
I doubled it for a whole loaf of french bread and it was just right.

Serve with coconut syrup and fresh berries!

Coconut Syrup

7-8 T. butter
¾ c. buttermilk
1 c. sugar
½ tsp baking soda
1 tsp coconut extract

Combine butter, buttermilk and sugar in a pot. Bring to a boil on medium heat (stirring pretty consistently) and boil one minute. Remove from heat and add soda and flavoring.

If you don't have buttermilk like I didn't just use the 'ol lemon juice and milk trick. Put 3/4 tsp. lemon juice in a 3/4 c. measuring cup (works for whatever amount a recipe calls for, just always use the 1 tsp. to 1 c. ratio). Fill the rest of the cup up with milk and let sit about 10 minutes.

You can use this syrup for pancakes, waffles, crepes, etc. My friend even told me she drizzled it over popcorn one time and it was delicious!!

This obviously isn't the healthiest breakfast but believe me it's worth it, and plus that's why we save it for special occasions!


Friday, April 20, 2012

Yogurt Parfaits

Okay so I'm a little bit of a slacker, and I don't have pictures for this, and I definitely stole it from Kerri. She and I decided that since she'll be a part of our sister group soon, we can combine on our day.

Kerri made these for us for breakfast and they were delicious, fast, and nutritious - 3 of my favorite things!

Ingredients:
Plain yogurt (to taste)
1 crunchy granola bar (we used Nature Valley)
1 chewy granola bar (I now use the Great value chewy bar)
Assorted berries (as desired)

All you need to do is crunch/crush up the granola bars, and add all the ingredients. That's it! It's the perfect breakfast for a college student on the go, or for you Mom's who don't always have time to whip up a culinary masterpiece first thing in the morning.

Bon appetite!


Thursday, April 19, 2012

Black bean quesadillas

We are kind of in love with this meal!! It's filling, healthy, and fast. What more could you want from dinner? I've made it way more than once in the last three weeks since coming upon the recipe. That says a lot, coming from someone who hates repeating meals and avoids it like the plague. Next time I will have to try them with Lindsay's quesadillas!

Black bean quesadillas
adapted from Budget Bytes

Ingredients:
-1 can black beans, drained and rinsed
-1 cup frozen corn (I thaw the corn for 10ish minutes)
-1/2 small red onion, finely diced
-1/4 bunch fresh cilantro, chopped
-1 clove garlic/ 1 tsp. garlic salt
-2 Tbsp. taco seasoning
-2 tsp. lime juice
-1 1/2 cups cheese
-8-10 tortillas

Directions:
-Mix all ingredients (except the tortillas, of course) in a bowl til everything's coated and mixed well. 
-Spoon mixture onto half of a tortilla.
-Cook quesadillas on a skillet on medium-low heat til both sides of the tortilla are crispy and the cheese has melted.
-Enjoy! We cut ours in half for easier dipping in salsa (I will share my favorite salsa next week) and serve with tortilla chips. Last time I made this my sister-in-law said the mixture is really yummy cold on a chip too!
This typically makes enough to fill about 7-8 tortillas, but I like mine pretty thick. You could probably fill them less full and use more tortillas. This meal takes about 10 minutes to prepare, and 20 minutes to get all the quesadillas cooked. Yum!